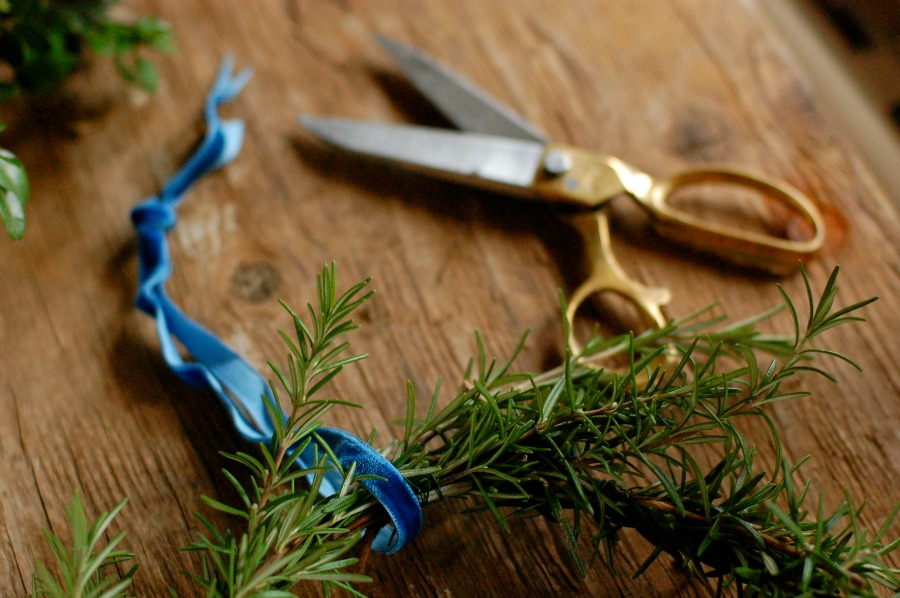
I am excited to kick off a new series today, Frolic! Flower School! This new column will feature tips, tricks, and recipes for flower arranging. Today I am featuring the DIY for these homemade Thanksgiving wreaths. They are simple + charming and easy to make in under an hour. I used rosemary foraged from the garden for a wild, look that makes a lovely hostess gift for your favorite chef, as she can hang it in the kitchen and easily grab a sprig of rosemary for cooking. The lovely thing about rosemary, is that it dries easily. Afterwards, it can be dismantled and you can jar the rosemary for later use in the kitchen. Click through for the full DIY below. Have fun!

You will need:
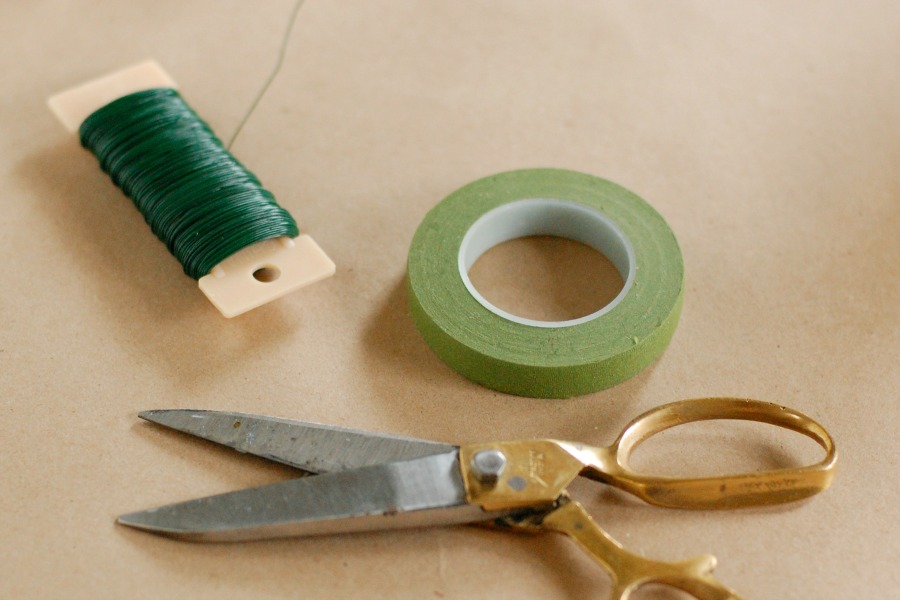
Florist wire. You can use stick or spool wire.
Florist tape.
Floral Clipppers
Ribbon
Ribbon Scissors
About 1 bucket full of rosemary. You could also use juniper, olive, noble, cedar (best mixed with another more sturdy green), myrtle, boxwood, or hebe.
*Remember the heavier the greens and the thicker the stems, the heavier the wire you will need. Florist wire is sold according to numbers which indicate the thickness and heaviness. I usually use anywhere from 16-22 gauge wire. The smaller the number, the thicker the wire.
How to:
1. Make a form out of wire. As mentioned above, the heavier the stems, the heavier the wire. Rosemary is lightweight and I wanted to make small wreaths, so I used 22 gauge spool wire and made it about 6″ so that the total wreath is about 10″ wide.
2. Be sure to layer the wire to make the form as sturdy as possible. Secure with floral tape. Then, cover the whole form in floral tape.
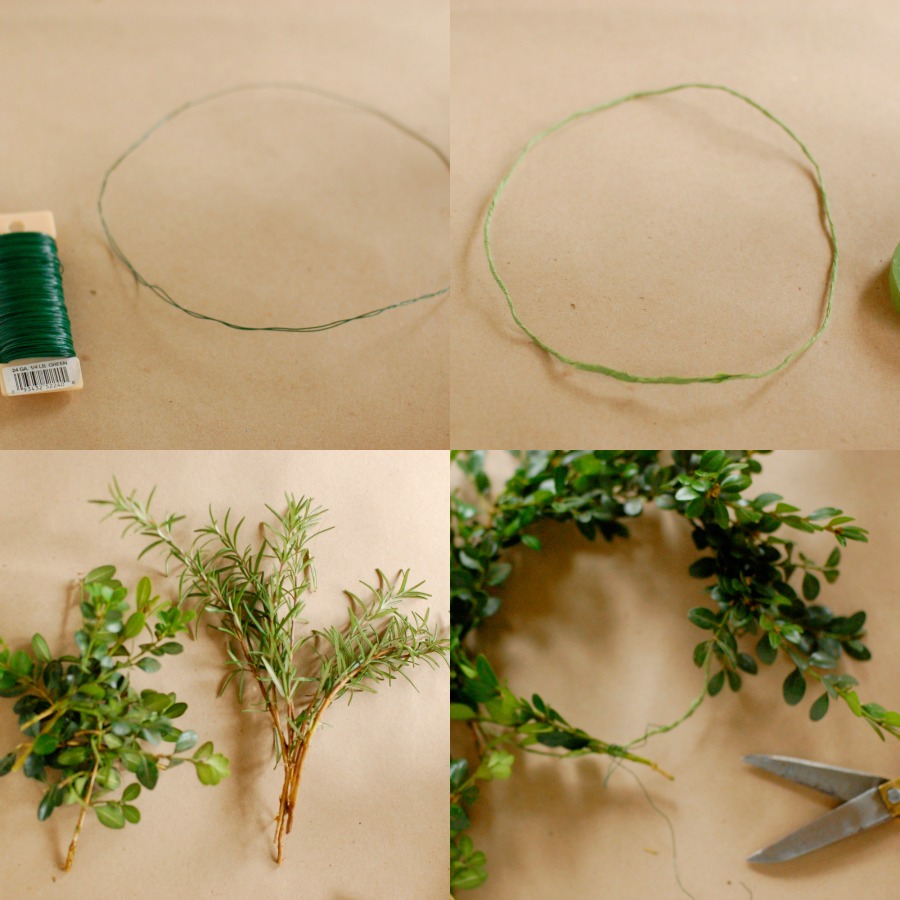
3. Form the greens into small bunches with different height stems (be sure to remove the leaves off of the bottom portion, this ensures your wreath will be neat and tidy and won’t get too thick).
4. Wire on the greens to the form, making sure to cover each bunch of stems as you go. You may need to trim stems a bit if they are too long once you wire them on the wreath.
5. Add a ribbon!
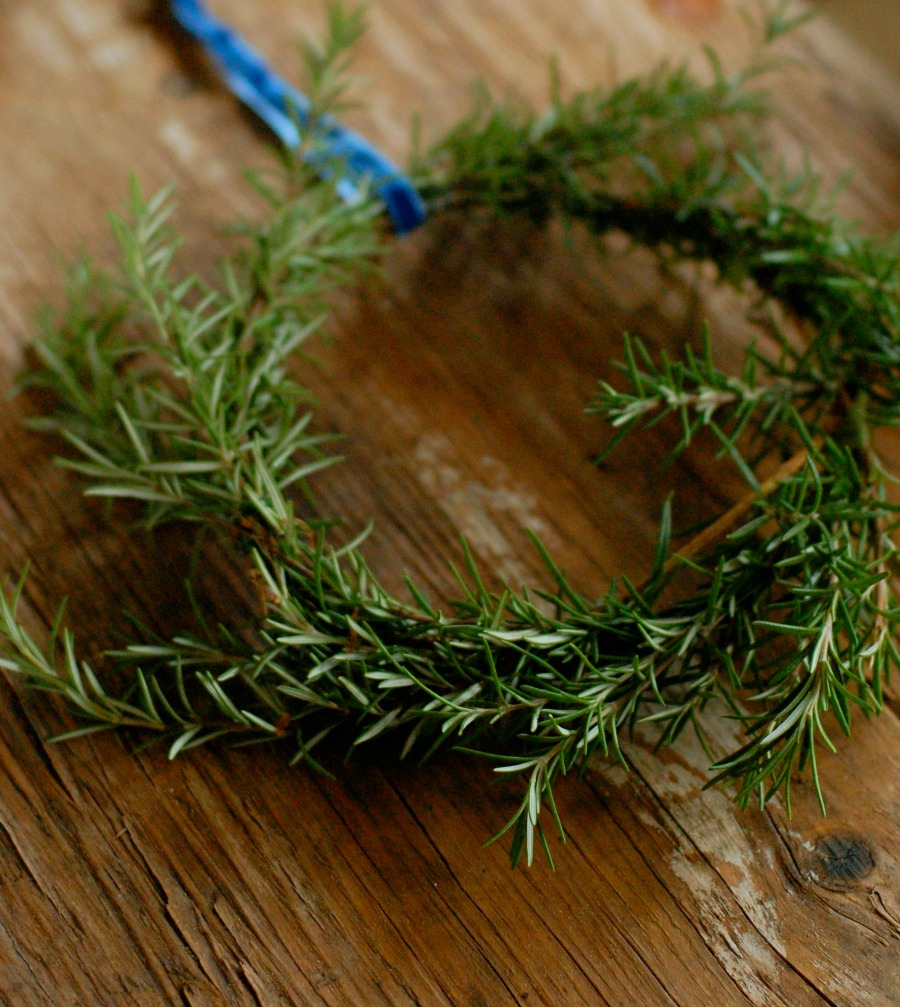
Hang in windows, on doorways, or hanging from doorknobs! Happy Thanksgiving!
You might also enjoy these flower arranging tips and projects:
10 Ways to Make Your Cut Flowers Last Longer
How to Make an Autumn Rose Arrangement
If you are interested in learning more about floral design, check out my two online classes:
Wedding Flowers
Photos: Chelsea Fuss. Originally produced for Project Wedding.
Kisses to you Chelsea! Nifty and easy to follow directions!!
And happy happy Thanksgiving to you over there in Portugal!!!!
Shirley xXx
Oooohhh! Love the new series!!! Great idea!
Beautiful! I’ll make one with my daughter this afternoon. Thanks for the lovely guide. <3
I was looking for the bay wreath directions and just found this and added it to our advent calendar. We’re going to make them and put them up in the windows! Thank you, as always, for your lovely brilliance.