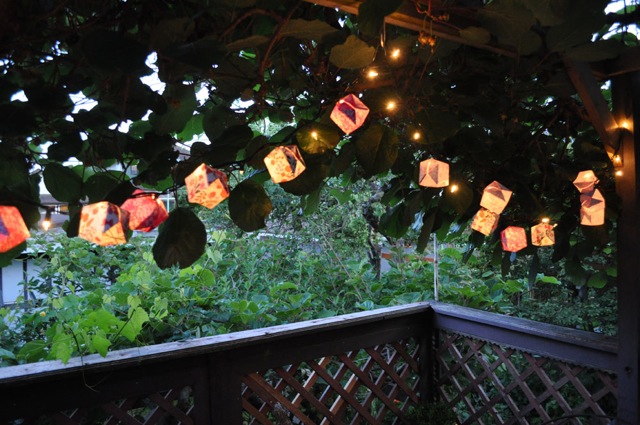
Now that summer has arrived to the Pacific Northwest we thought a celebration was in order. We love nothing more than to gather our friends for a meal under the stars and thought that we needed some illumination to add to our party prep. Rather than stick with simple white fairy lights we decided that origami balloon lanterns would give them that extra bit of prettiness. Why keep them in a box waiting for Christmas?
We could also see hundreds of these beauties strung in trees as decoration for a night time wedding.
You will need:
9×9 sheets of colourful paper (we used our gift wrap)
scissors or an exacto knife if you need to cut your paper to size
a string of lights
Directions:
Step 1:
Cut your paper to size or use 9×9 sheets.
Step 2:
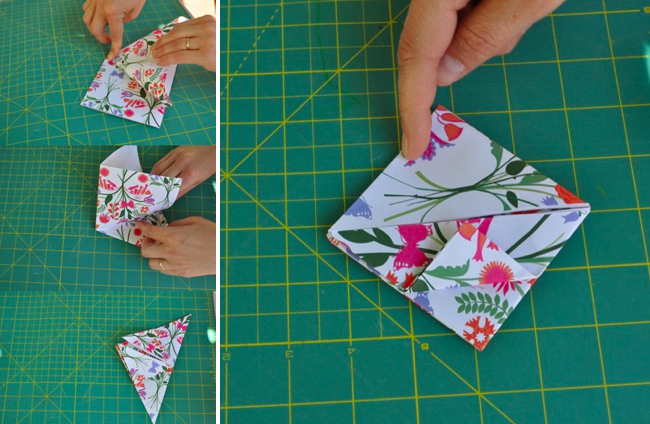
Fold your paper in half. Then fold it in half again to create four squares. Open the first corner and fold down to create a triangle (see first picture). Repeat on the other side.
Next take the corner and fold up. Do this to all corners. You should now have a diamond shape (see above).
Fold the corners towards the centre. Do this on all sides.
Step 5:
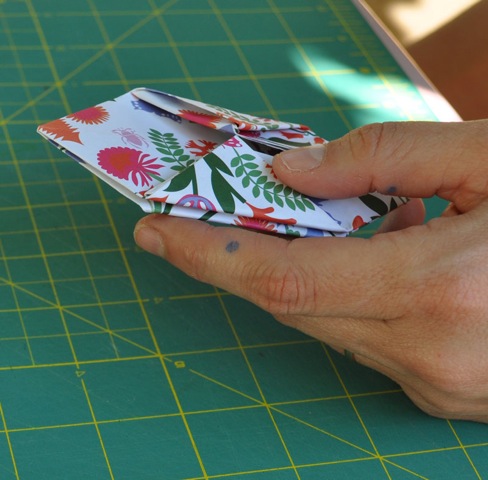
Now comes the tricky part. Take the top corners and fold them across. These will be your flaps. Take them and insert them into the folds you just made. Repeat on all sides (See how they are tucked in there in the picture).
Step 6.
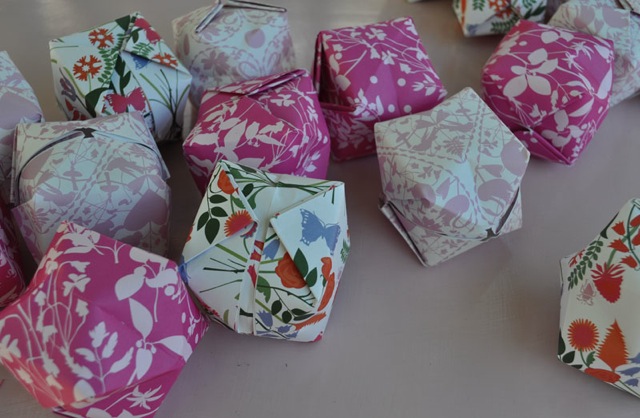
You now can blow up your balloon.
Step 7:
Voila. You now have several beautiful balloons to insert into your lights.
Step 8:
Invite some friends over, plug in your lights and pour yourself a drink. Enjoy!
Remember, these are paper lanterns, make sure you use low wattage bulbs and never leave them unattended.
P.S.. If you need further detail we did find a good tutorial that is hand drawn.
DIY and photos by Banquet for Frolic!


